DIY Beeswax Wraps
I’m always searching for ways to reduce our impact on the environment, especially when it comes to single use items like plastic cling wrap. So when I discovered beeswax wraps I was intrigued. And to keep things low cost, I came up with a way to make them myself. They are cute, affordable, and so versatile!
You can use them for:
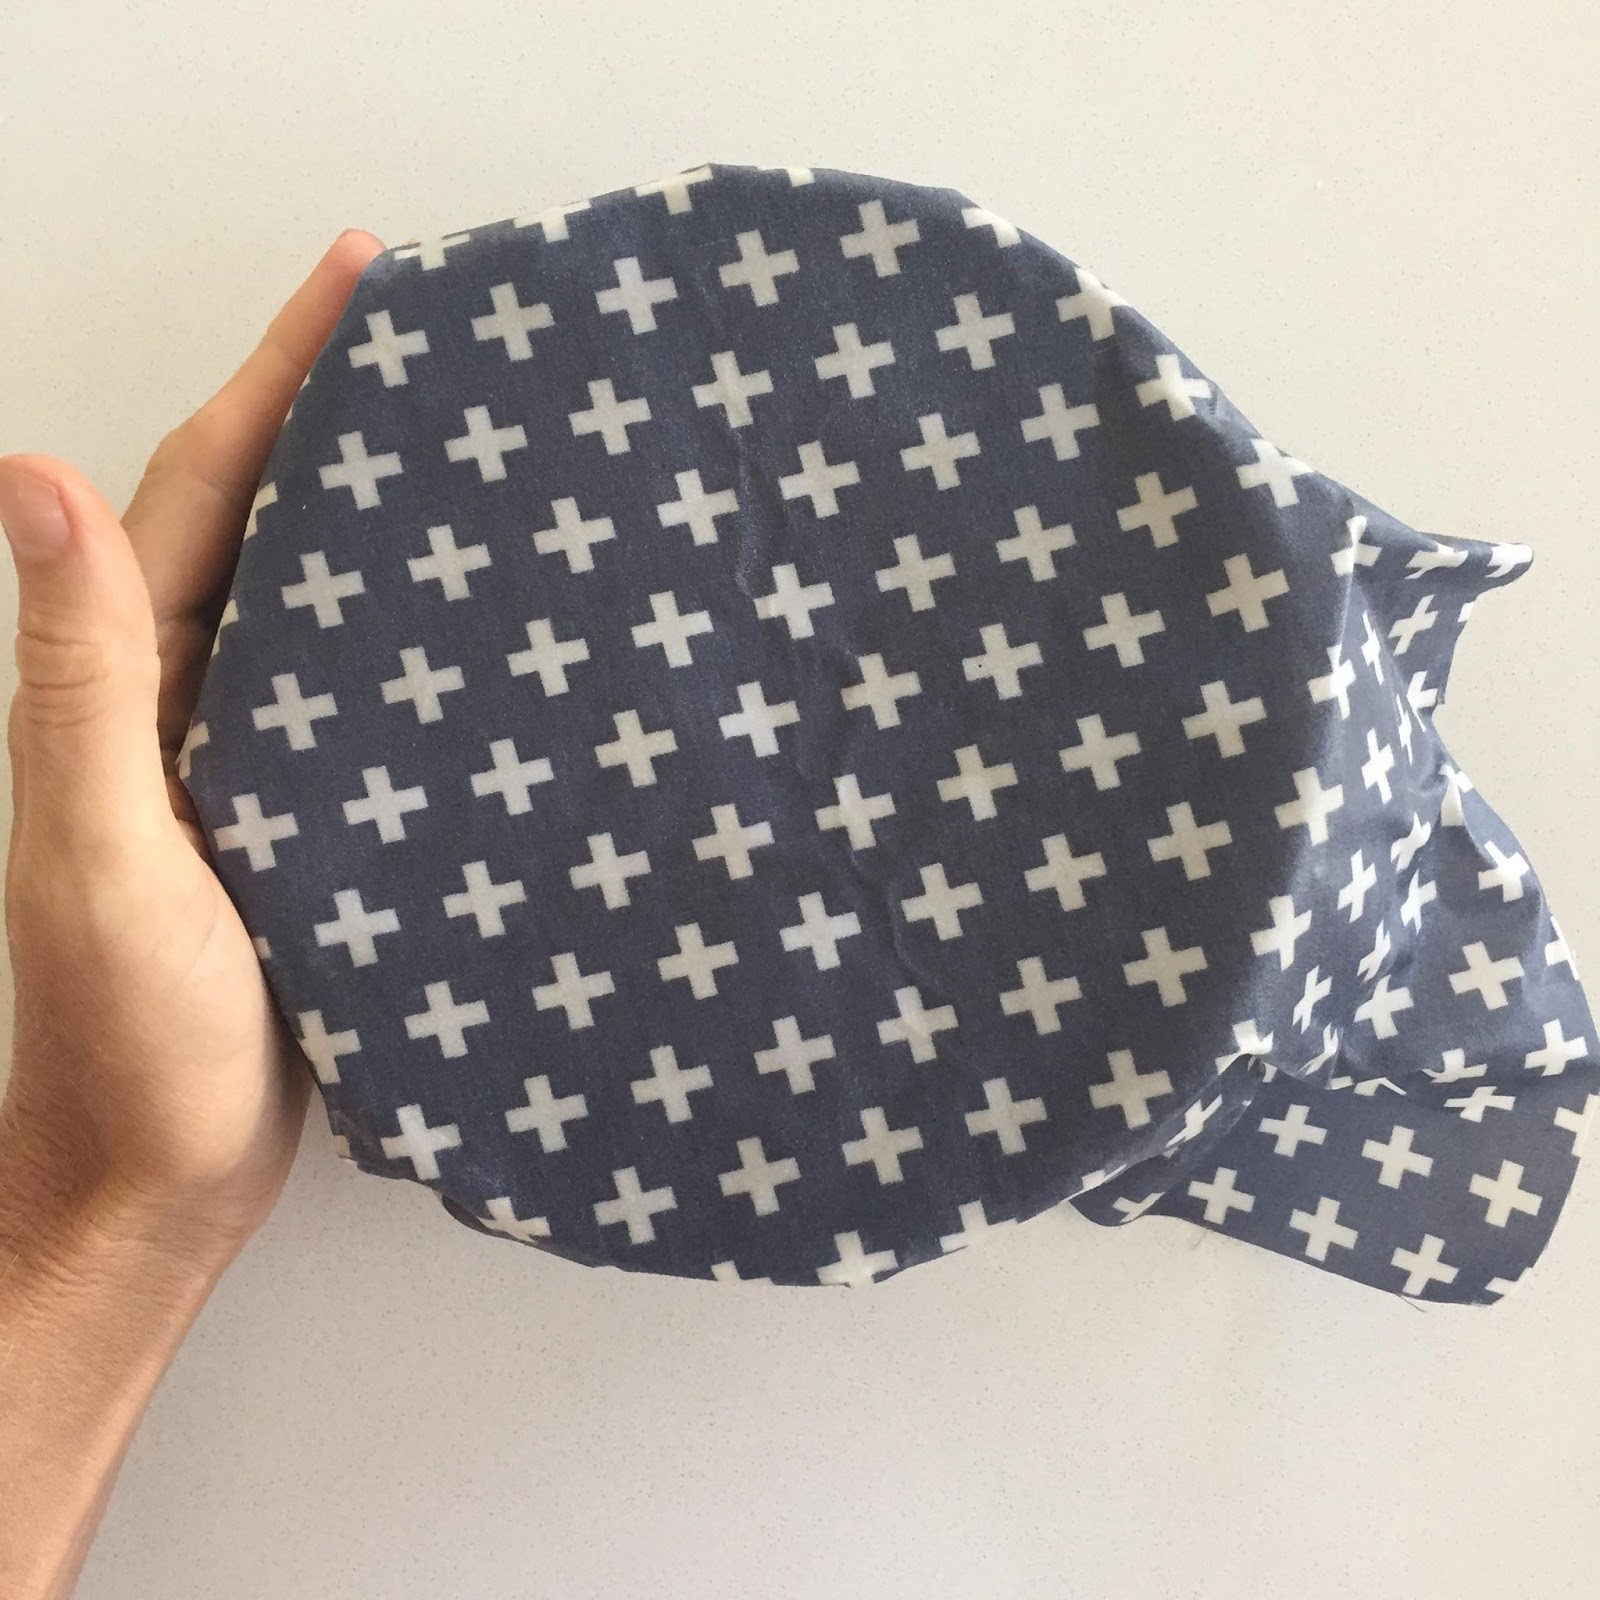
- Covering – bowls or plates of food.
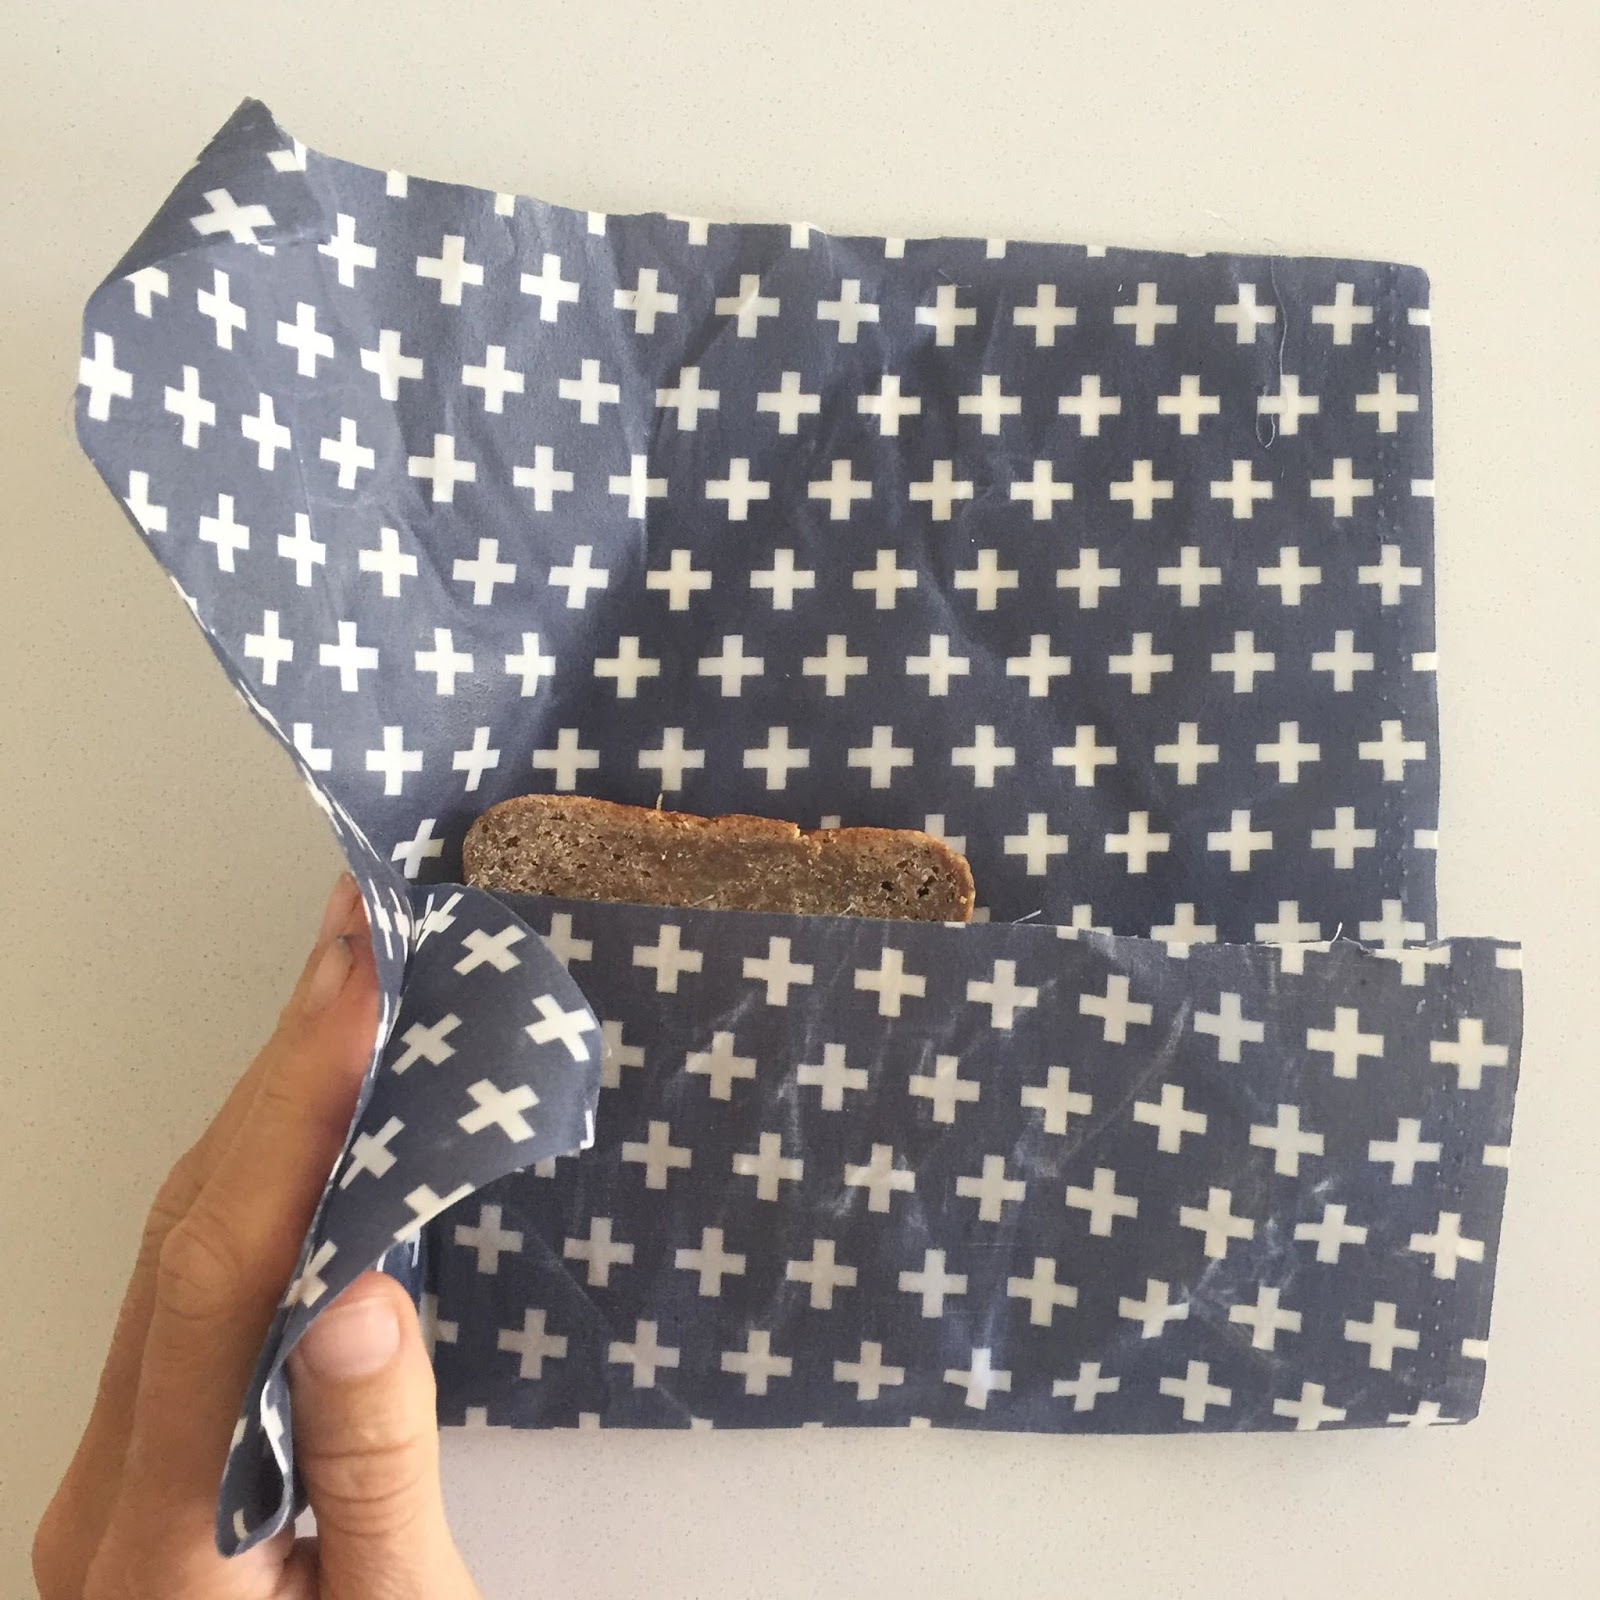
- Wrap – bread, sandwiches, biscuits, cheese, fruit.
- Fold into a cup – to serve snacks like popcorn, grapes.
Give my recipe a try, or if you’re not a big DIY’er you can find beeswax wraps in places like Etsy or your local market.
BEESWAX WRAPS RECIPE
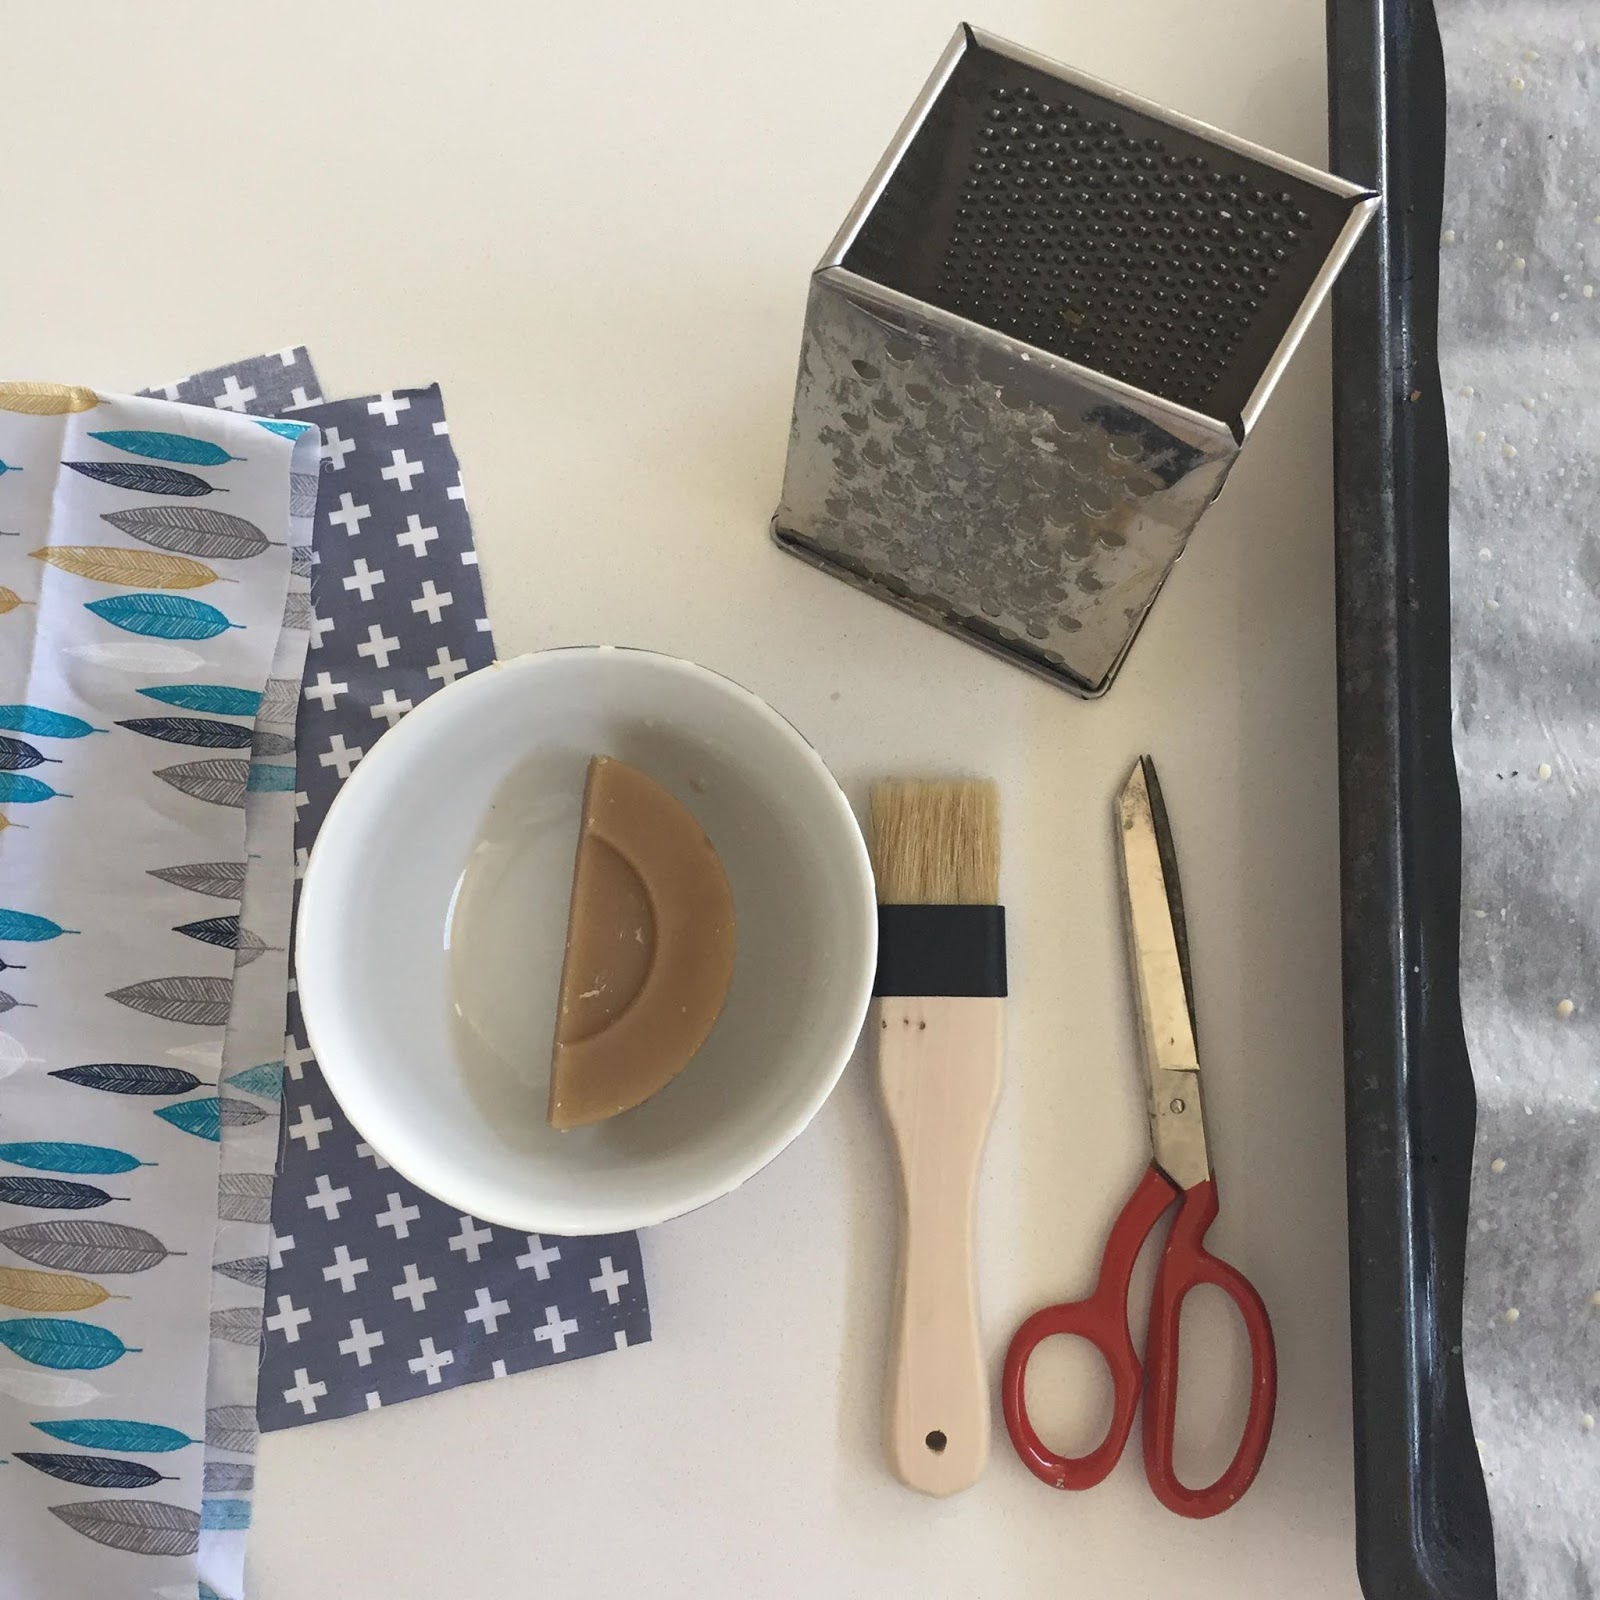
Ingredients:
- Cotton material (can be clothing, sheets, pillowcase)
- Scissors
- Beeswax (try to buy local – at your local sustainable cafe, health food shop, or farmers market)
- Oven tray
- Baking paper
- Grater
- Pastry Brush
Tip:
The grater and pastry brush will be impossible to clean after, so ensure your using items that will be used only for your wraps.
Method:
- Preheat oven to 170C
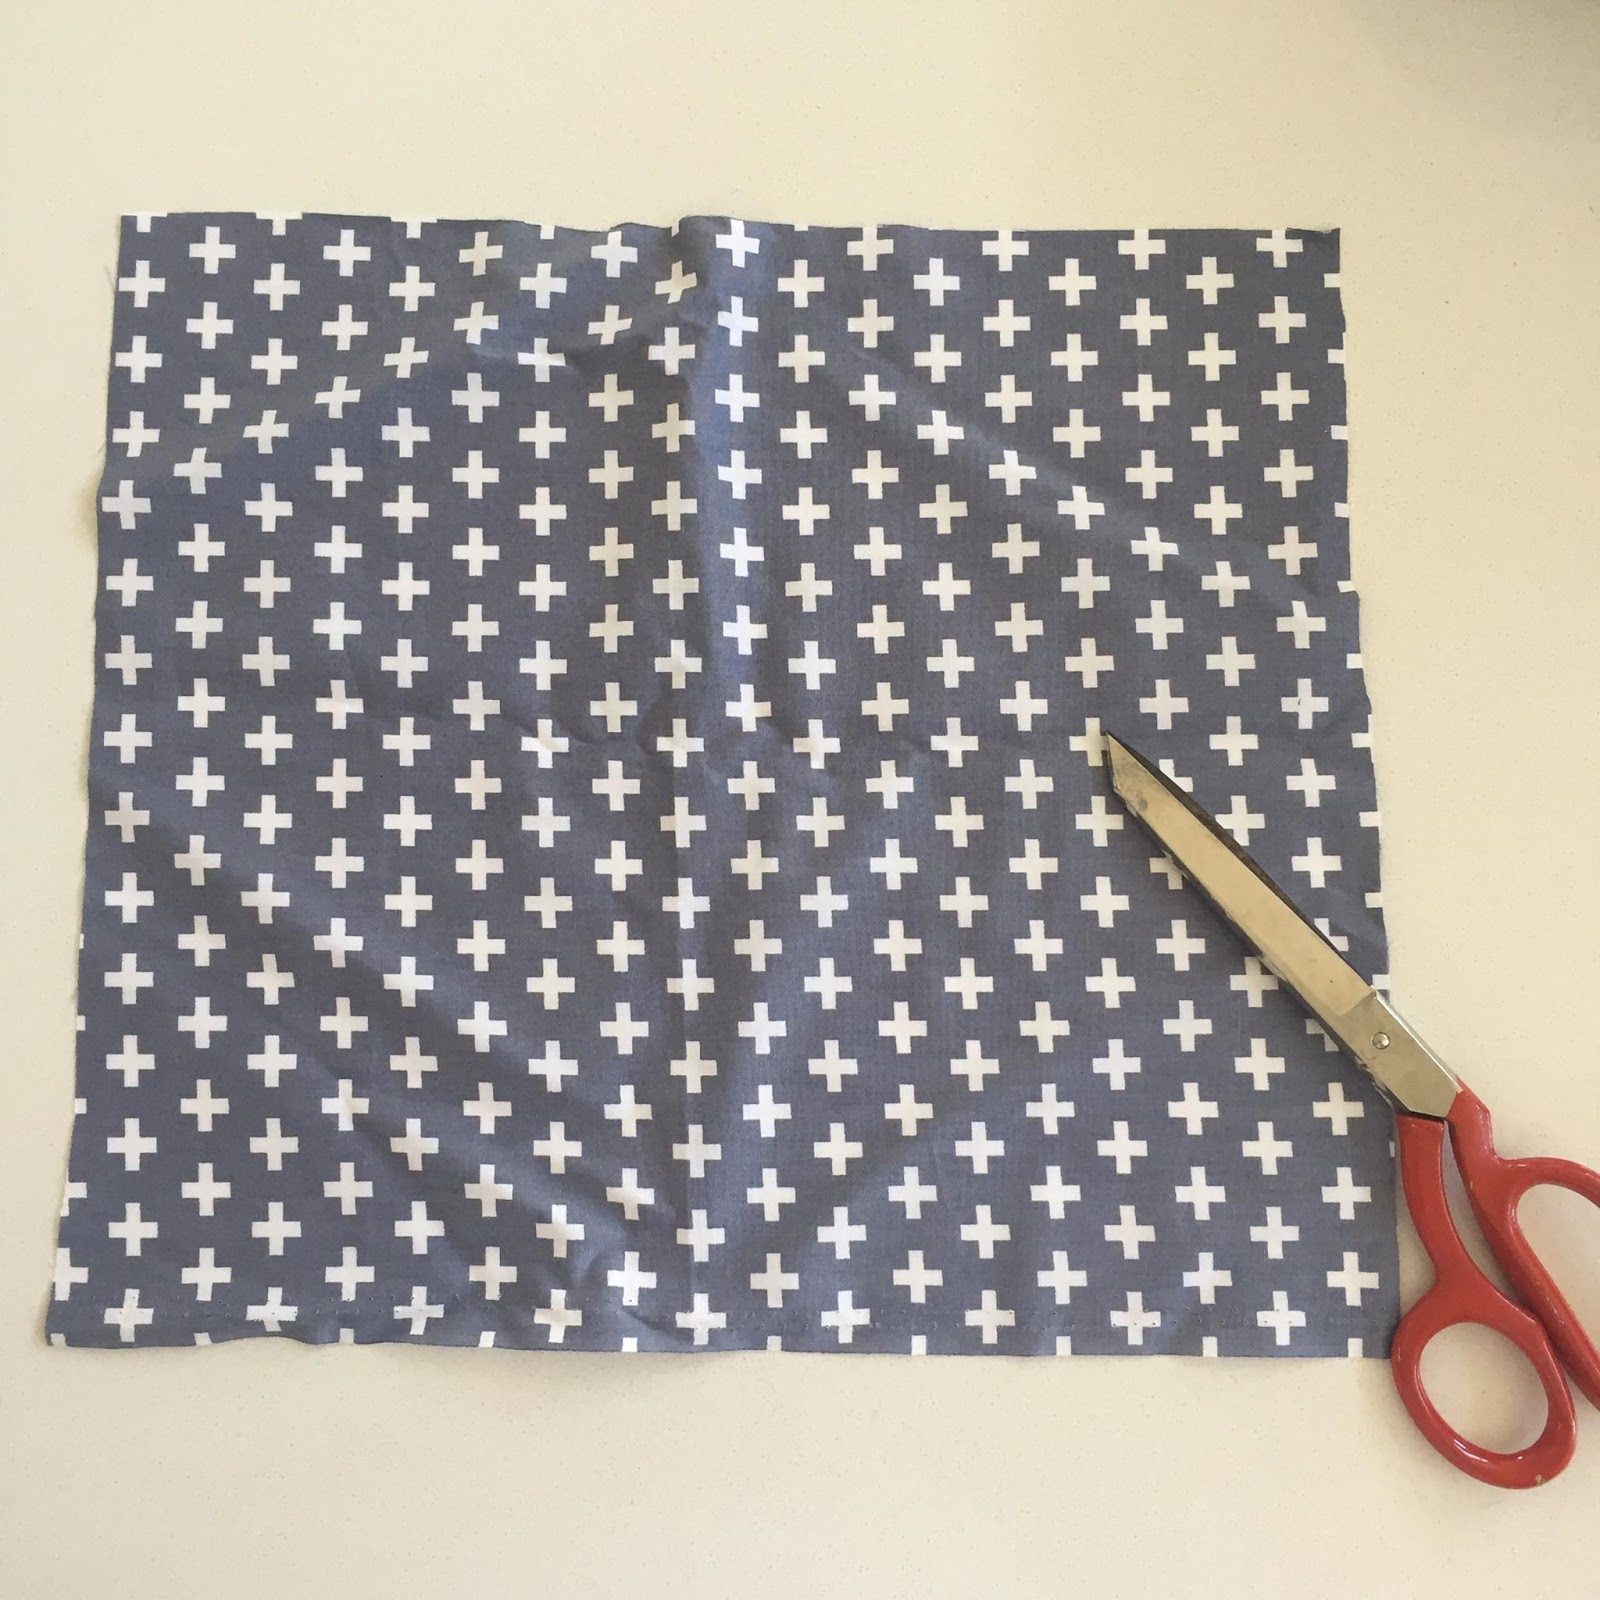
- Cut material into suitable sized squares or circles (This may depend on what size bowls etc you’d like to use this for).
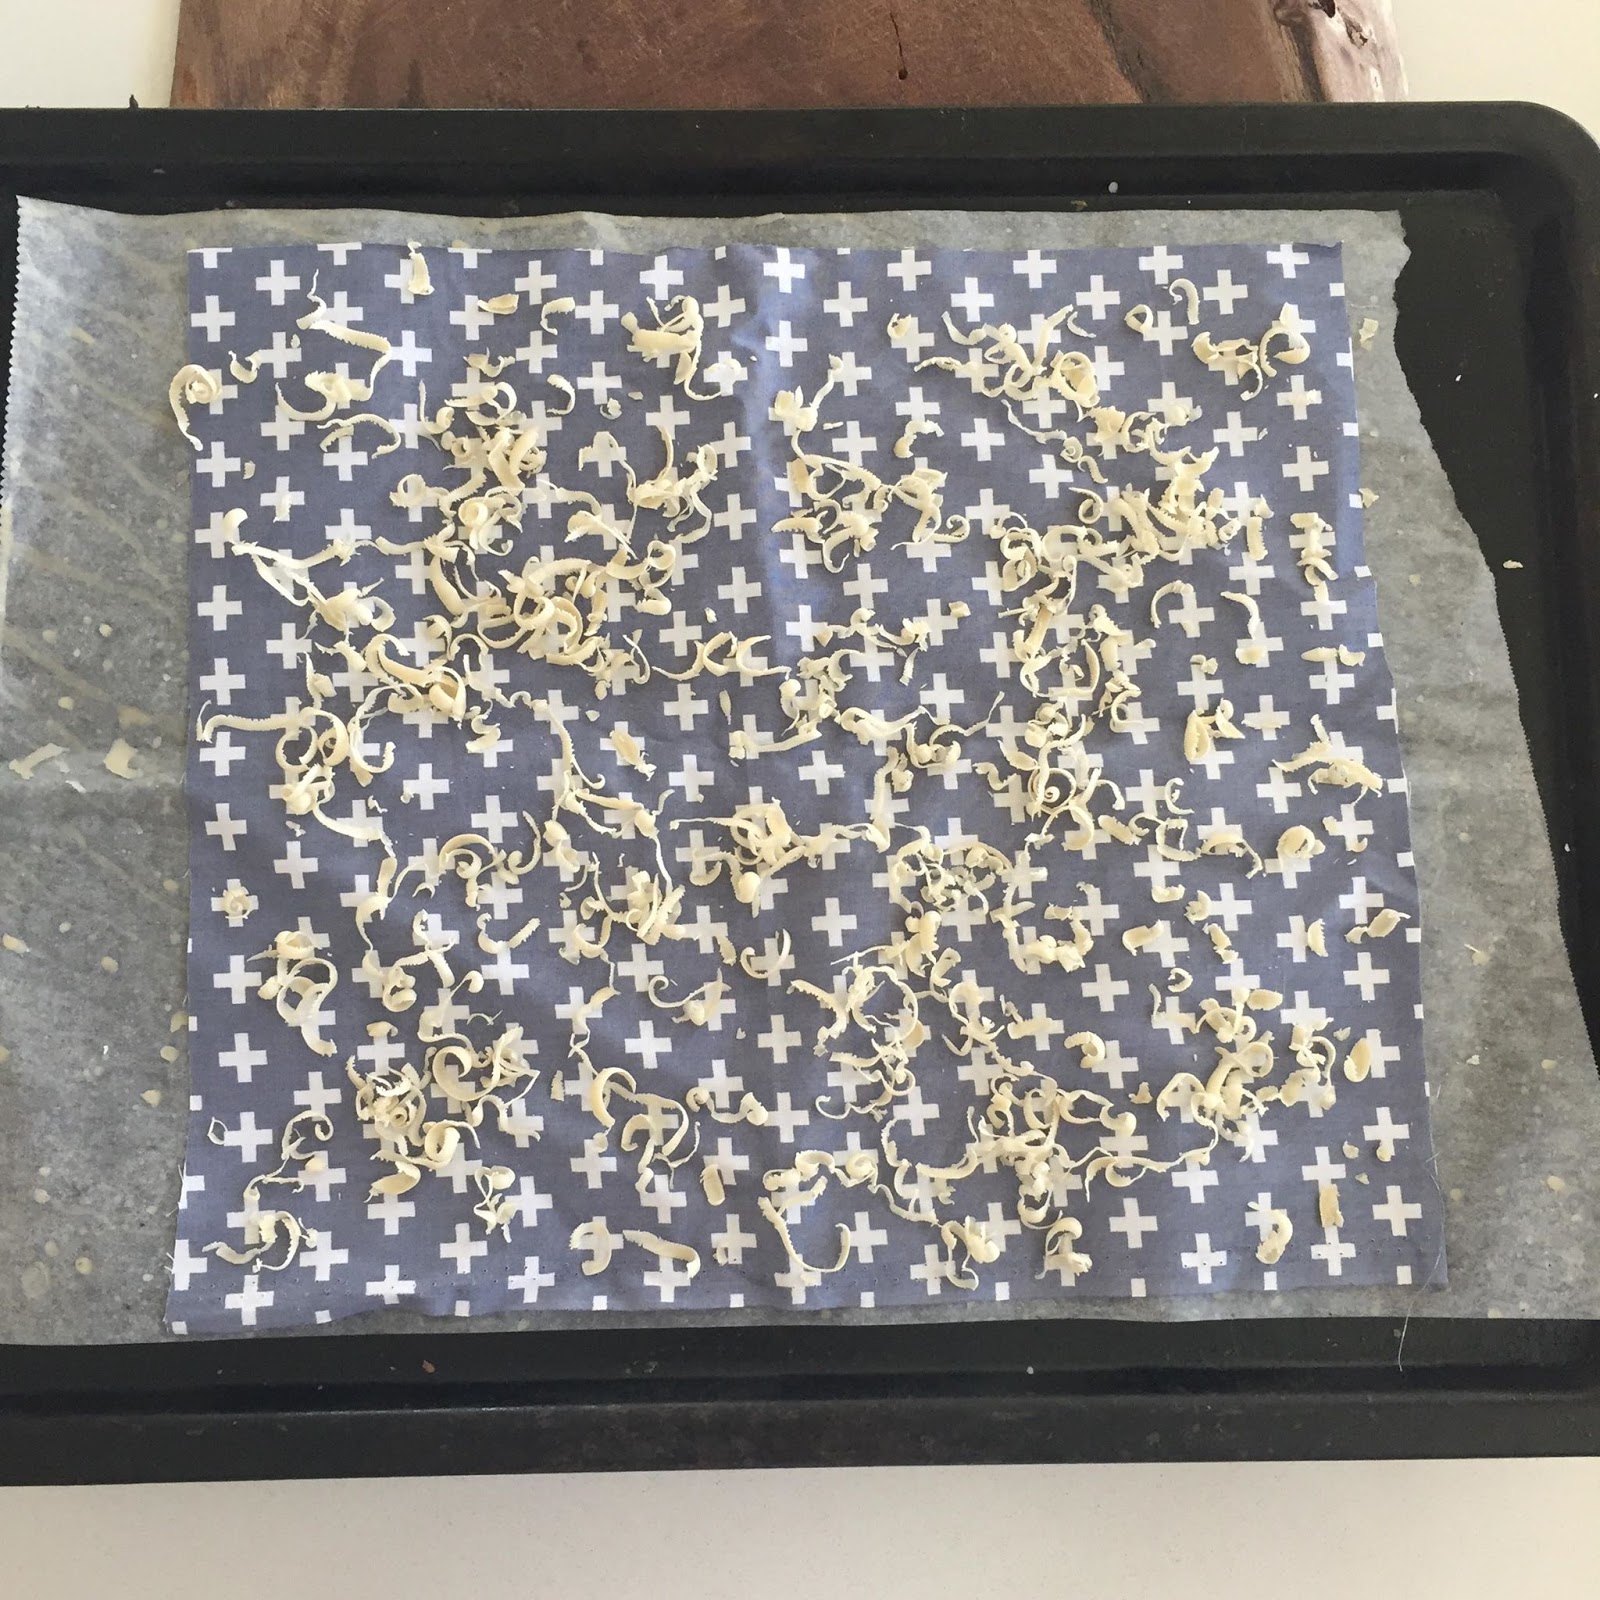
- Line the oven tray with baking paper.
- Place the piece of material on the oven tray.
- Grate the bees wax over the entire piece of material (a little bit goes along way).
6. Place in the oven for 1 minute or until the wax has melted.
7. Use the Pastry brush to evenly coat the wax over the material (you will need to do this step and the next one, quite FAST before the wax starts to harden).
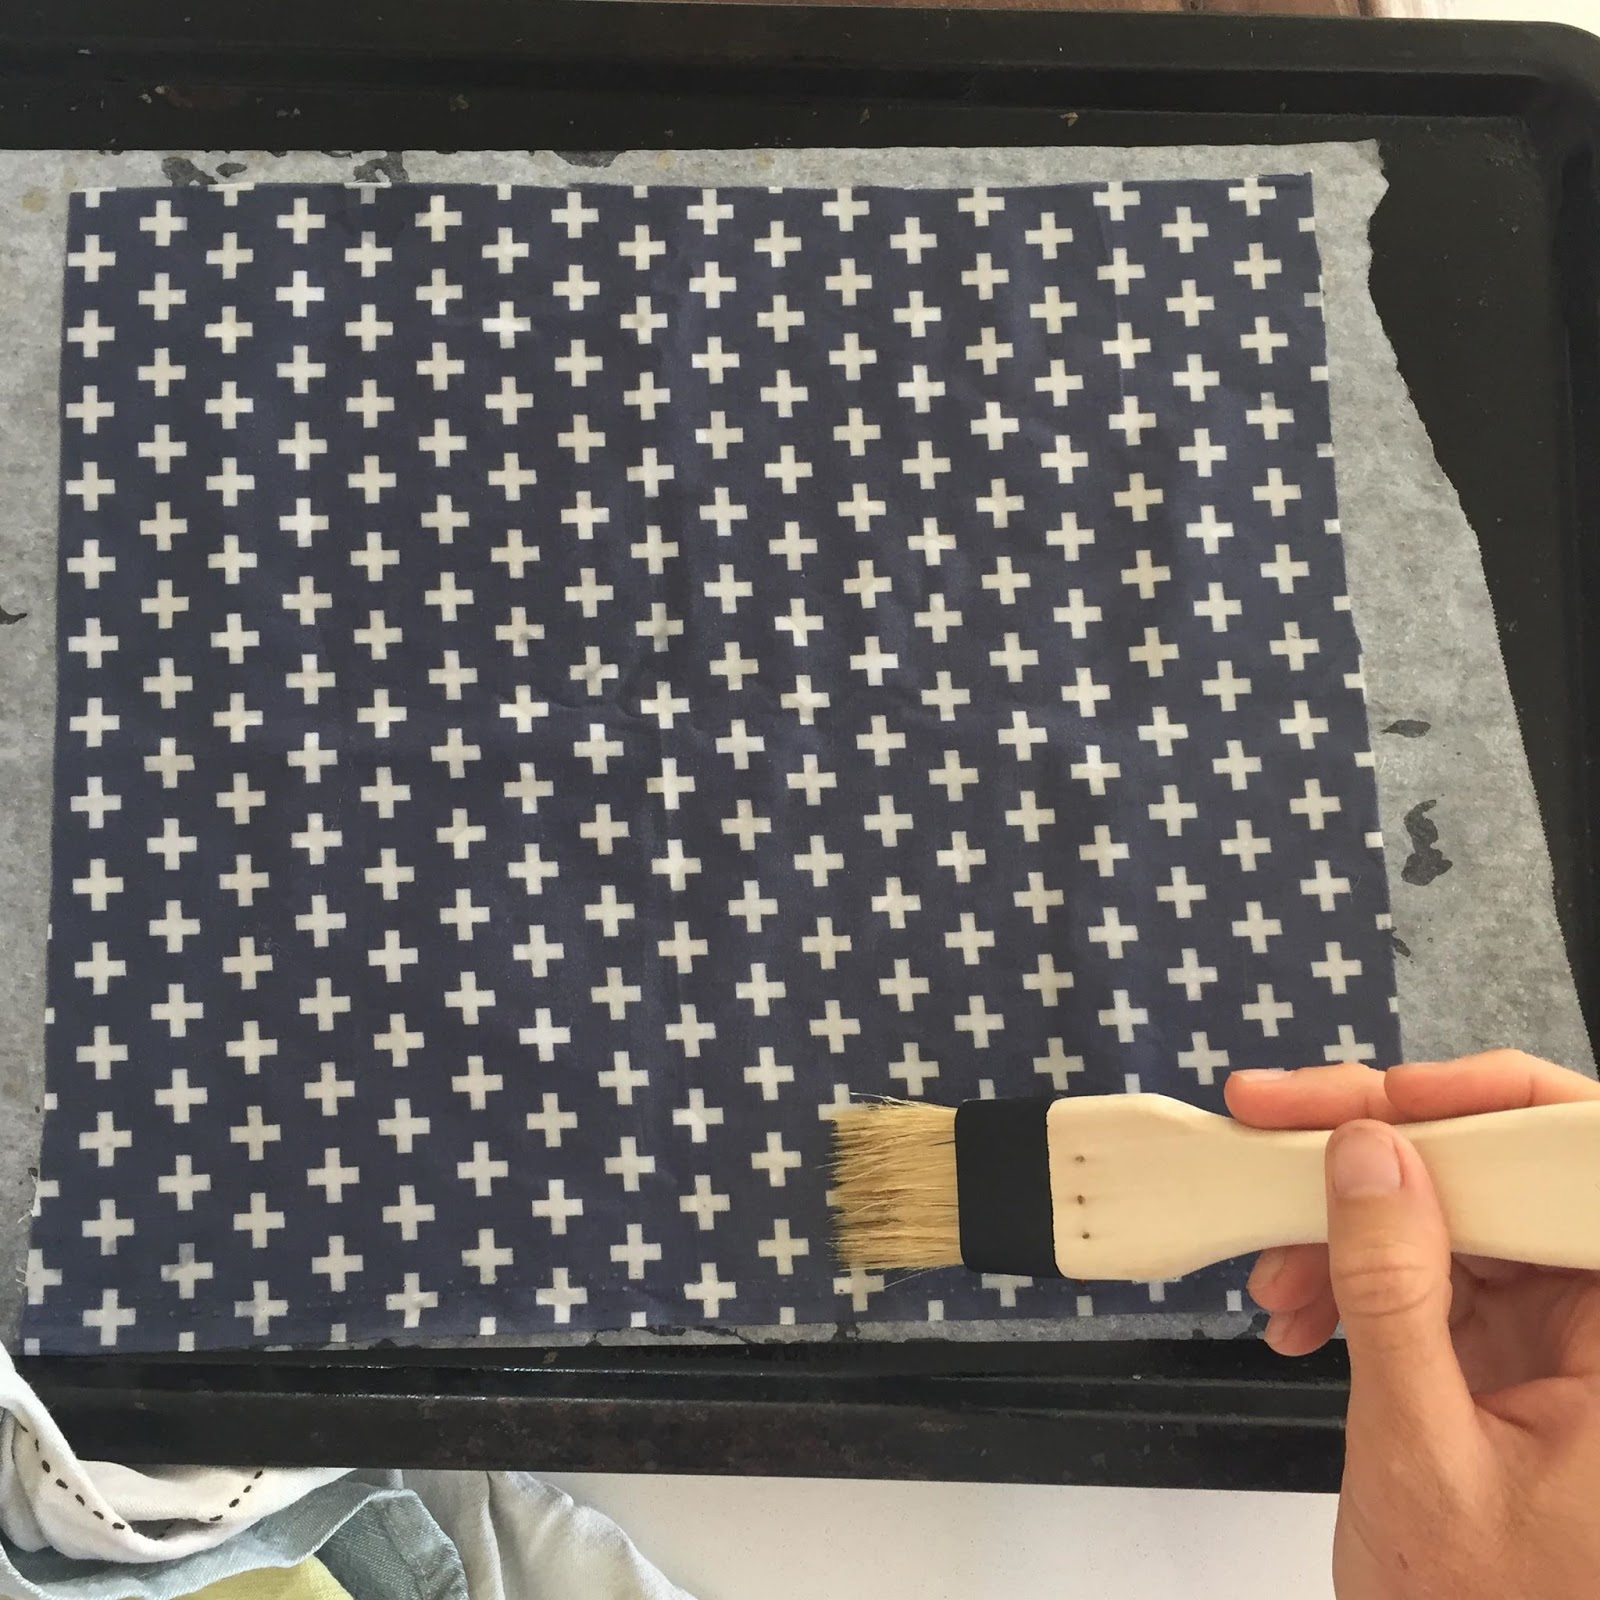
8. Once the material is thoroughly coated, peel off the material and let it dry on a clothes rack (depending on your room temperature this could happen very quickly).
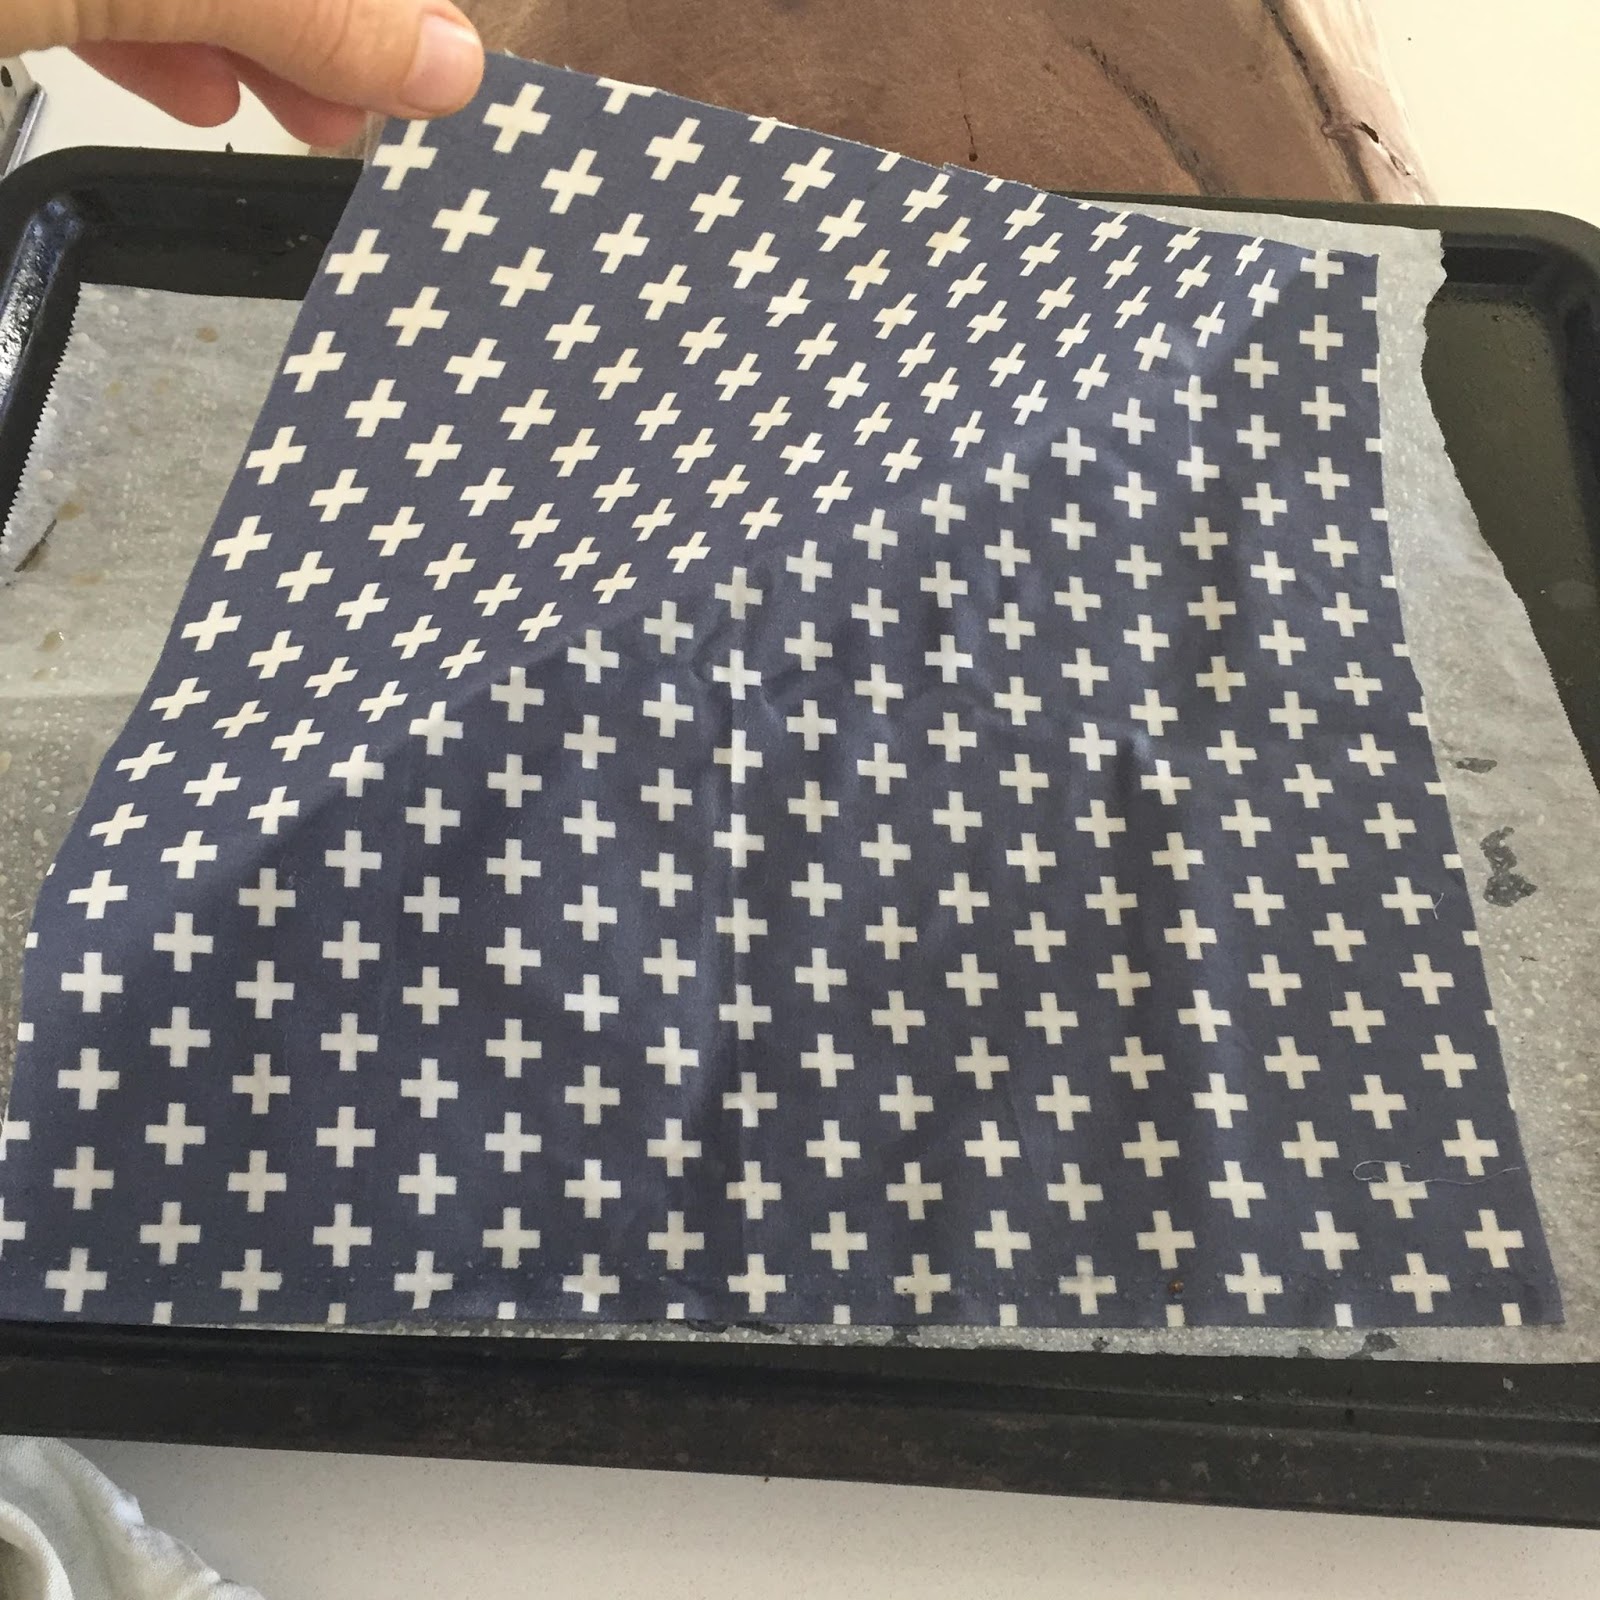
9. Let cool down completely before folding up and storing for use.
Trending Articles...
Need Some Help Looking on the Bright Side?
Do you consider yourself someone who looks on the bright side? It's not always easy, but having a positive outlook on life definitely makes life easier. I'm not saying that we should ignore our struggles or pretend that everything is perfect all the time, but having a...
You Can’t Afford to be ‘Active’ When it Comes to Your Money!
Ever imagined sitting on a beach, sipping a drink with an umbrella in it, and not having to stress about heading back to work? I know I have. This seems like an impossible dream, but it’s a reality for many people (and not just those born with splashy trust funds!)....
Take a MOMENT
With wellness becoming a greater focus in our lives, we’re constantly looking for fun new ways we can refresh and re-energise. Here are three different wellness techniques you can try.The ears are a surprising source of stress relief because they’re covered in reflex...
Gratitude
Writing in a Gratitude Journal each day can help increase your overall wellbeing and happiness. Use your journal to refocus on the multitude of positives in your life and create a wonderful treasure to reflect on as you navigate life. I have often looked back upon my...
Do you have a love-hate relationship with exercise?
Exercise can bring up a lot of funky feelings. You may be self–conscious about your athletic skills, that was me. Or you may be stuck in this story where you think you hate exercising. You might think exercise is something you “have” to do. Or maybe you think that if...
Are You a Tired Momma?
It's such an important part of our lives, but how much thought have you given to what goes into getting a good night's sleep? It wasn't until I became a sleep-deprived mom that I truly appreciated the importance of sleep (for myself and my daughter). Not only is it...

